Google Workspace
NoteScalr supports all SAML 2.0 providers; this is just an example of a commonly used one.
Overview
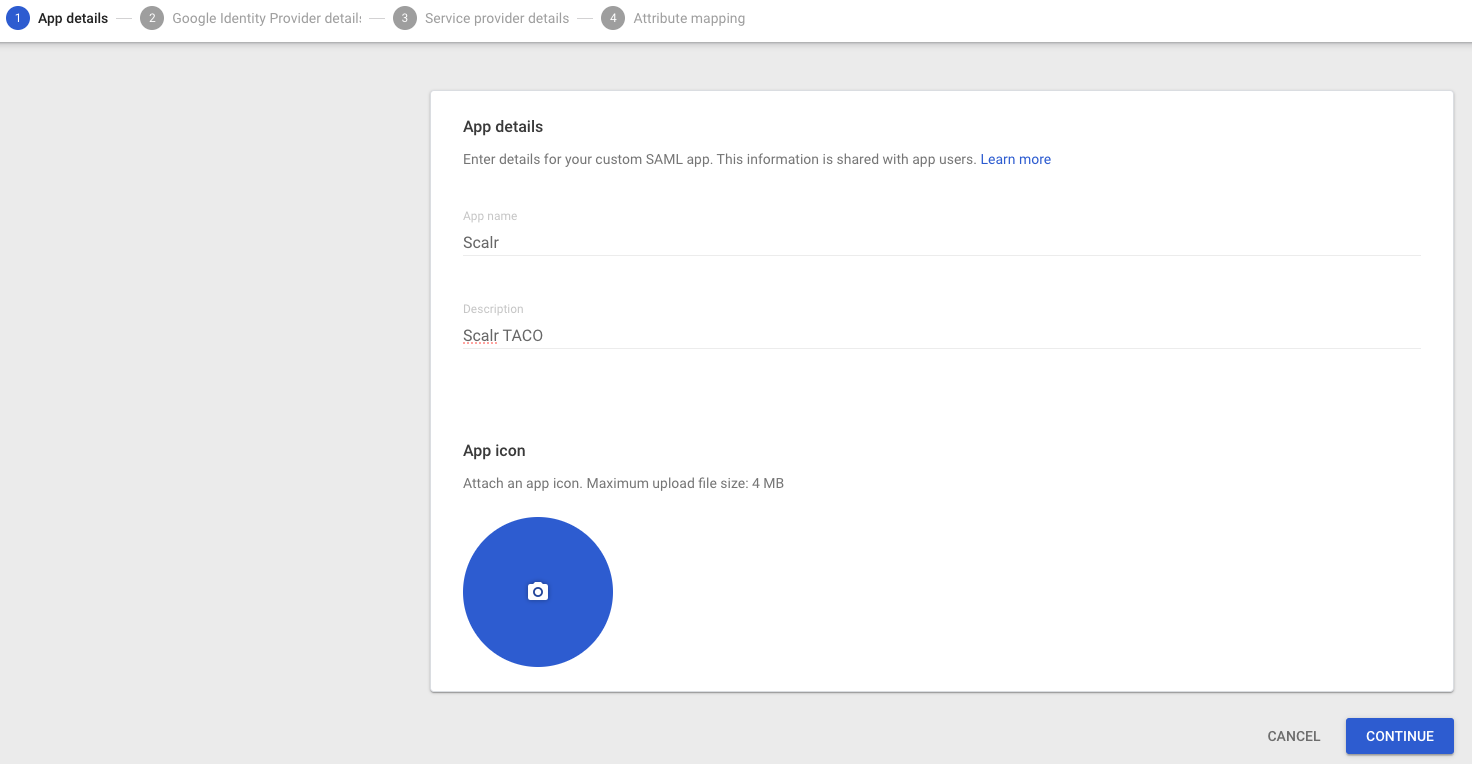
In Google, go to Apps then Web and mobile apps. Select Add custom SAML app. Enter the app name and details.

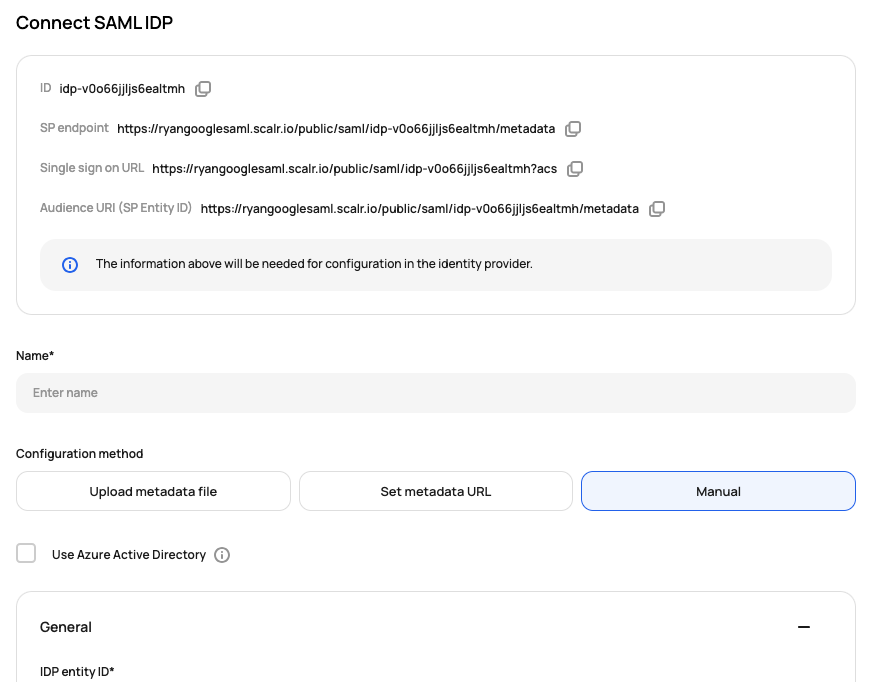
Click Continue, which brings you to Google IDP details page. At this point, go to Scalr, the Integrations tab, and select SAML IDP. On the SAML page, select Manual for the configuration method:

Open the Google console and copy the following fields from Google to the Scalr general settings:
- SSO URL (Google) -> IDP single sign on service (Scalr)
- Entity ID(Google) -> IDP entity ID (Scalr)
- Certificate (Google)-> IDP X509cert (Scalr)
- SHA-256 fingerprint (Google) -> IDP cert fingerprint (Scalr)
Click continue to go to the Service Provider Details in Google.
Open the Scalr console and copy the following fields from Scalr to Google:
- Single sign on URL (Scalr) -> ACS URL (Google)
- Audience URI (Scalr) -> Entity ID (Google)
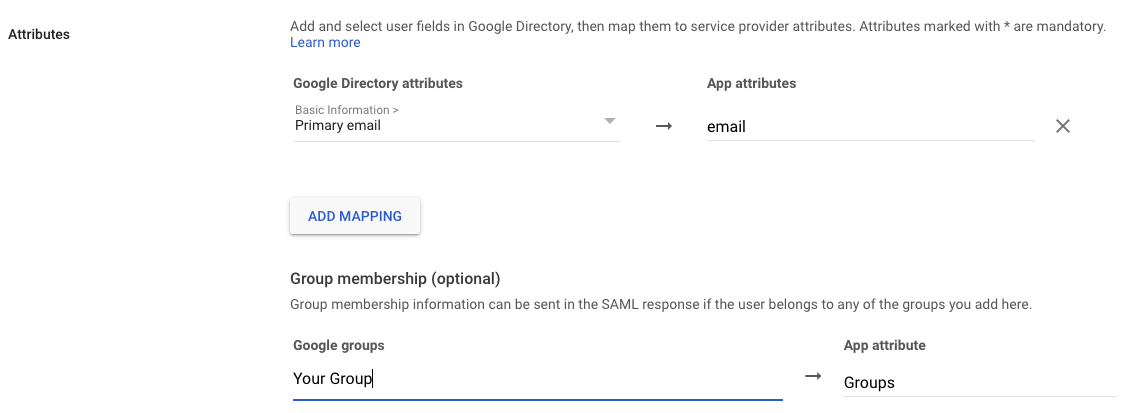
The rest of the fields can left as the default. Click continue to go to Attribute mapping in Google. The following settings can vary based on your organization. In Google, set the Primary email -> email. The Group Membership can be left blank or updated based on your organizations choosing.

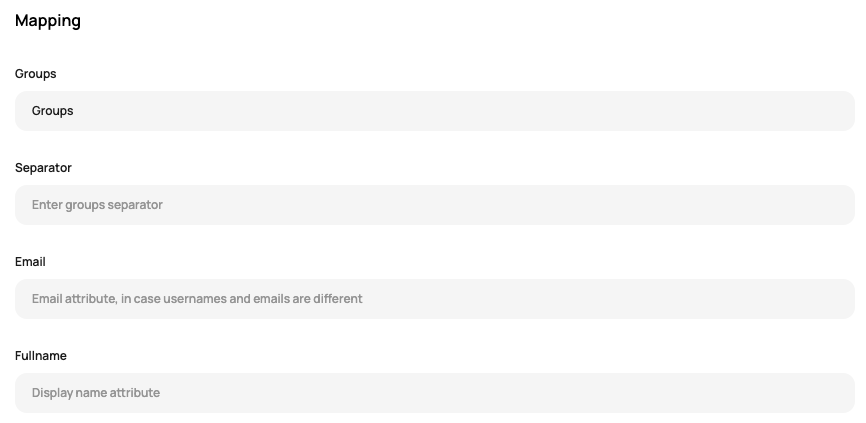
In Scalr, update the mapping section to equal the values in Google. In this case, the only one that needs to be specified is Groups (this can be a different attribute name in your Google attributes) and the email is automatically passed in. The rest of the settings in Scalr can be left as the defaults.

Now, just verify the connection and then turn on SSO for the account!
Updated 6 months ago
