Workspace Settings
Workspace settings include adding extra automation, changing IaC versions, building dependencies between workspaces, adding scripts to custom hooks, and more. The settings can differ based on the workspace type you are using, but they are designed to provide more automation and flexibility for your organization.
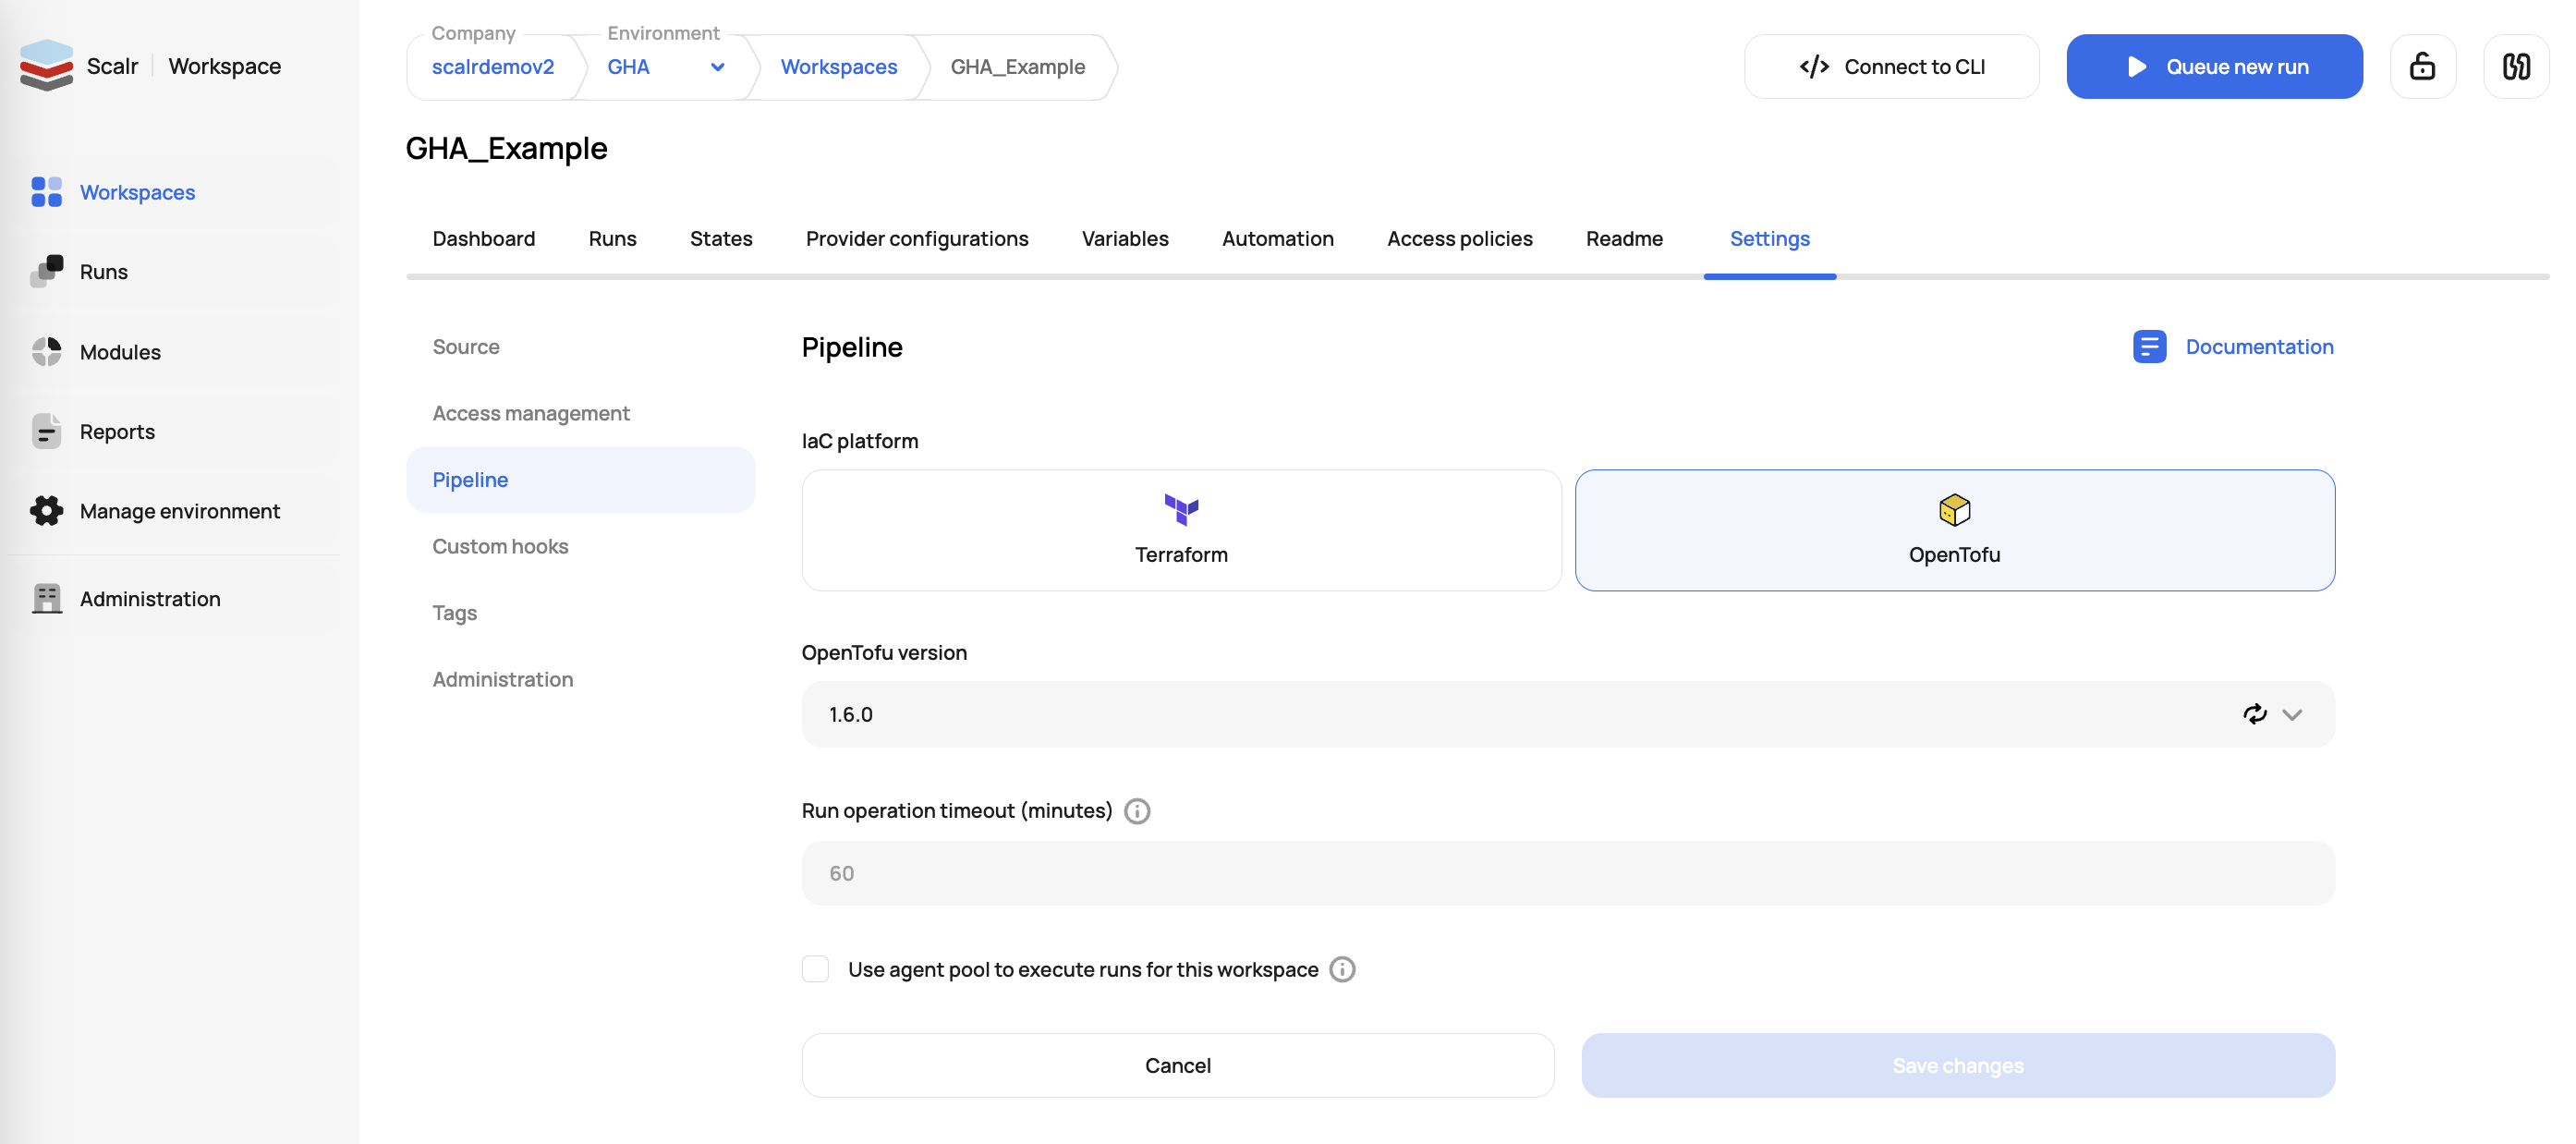
Find all of the sub-pages in the index to the left that outline what each setting does.
Updated 11 months ago
Did this page help you?