Agent Pools
RPM and Debian Linux package support has been deprecated as of March 31, 2026.
If you have agents installed via Linux packages, see our migration guide.
Overview
Whether you want to use an agent to execute runs in your own network or use a private VCS provider with scalr.io without opening it to the internet, agent pools give you the extra layer of security and control to meet your requirements.
By default, when executing a Terraform or OpenTofu run in scalr.io, it will execute on a shared pool of resources that are maintained by Scalr. This method suffices for the majority of use cases, but sometimes there are use cases due to security, compliance, or network requirements that require the runs to be executed on a self-hosted pool of agents. The Scalr self-hosted agent pools are deployed on your infrastructure, fully encrypted, and will only need network access back to Scalr.io to report the run results. Scalr.io will never need network access back to the agent.
Run agents are not included in the Scalr.io run concurrency. Each agent will have a limit of 5 concurrent runs at time to avoid overloading them. The agent was decoupled from the scalr.io concurrency limit to allow customers to control their own concurrency if needed.
Example: If you have five concurrent runs on the scalr.io runners and two self-hosted agents running, you will have 15 concurrent runs
Permissions
- Creating agent pools requires the
agent-pools:createpermission. - Managing agent pools or assigning a default agent pool to an account requires the
agent-pools:updatepermission. - Deleting an agent pool requires the
agent-pools:deletepermission. - Assigning an agent pool to a workspace requires the
workspace:updateandagent-pools:readpermissions.
Configuring an Agent Pool
Agent pools are created at the account scope and can be made the default for the entire account or linked to specific workspaces. To create a pool, go to the account scope, expand the inventory menu, and click agent pools. Select Runs, and then follow the in-app instructions:
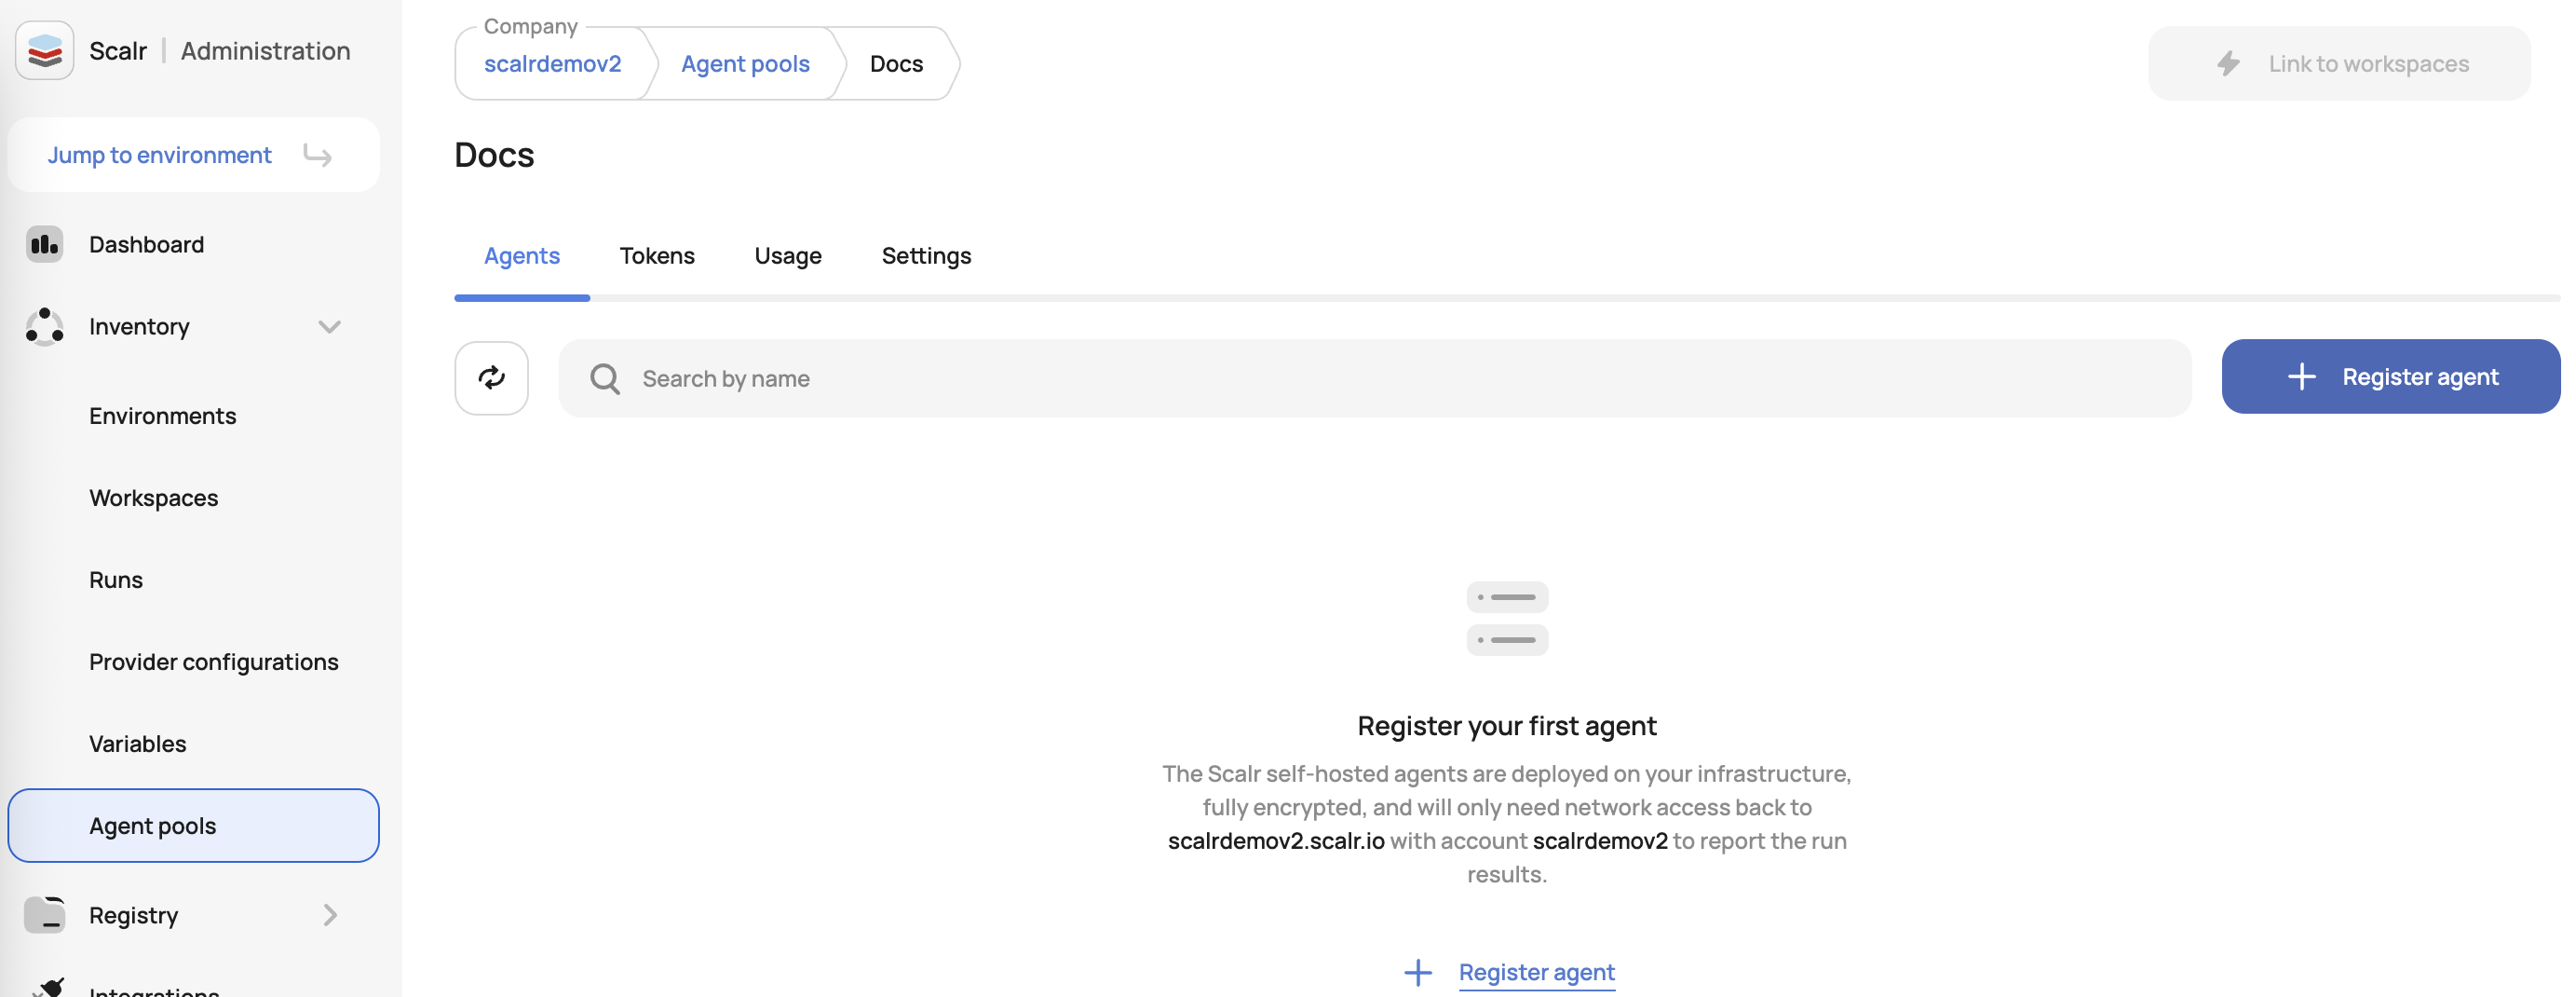
To connect an agent to this pool, follow the Installation instructions.
Assigning Agent Pools
Agent pools can be set for the entire account, assigned to environments, or selected in the workspace settings. If an agent is set as the default for an account, all workspaces will inherit the agent unless a different agent is explicitly set in the workspace settings. If an agent pool is assigned to an environment, only that environment will be able to use it.
To set a default for the account, go to the agent pools page and click "make default" next to the agent pool:

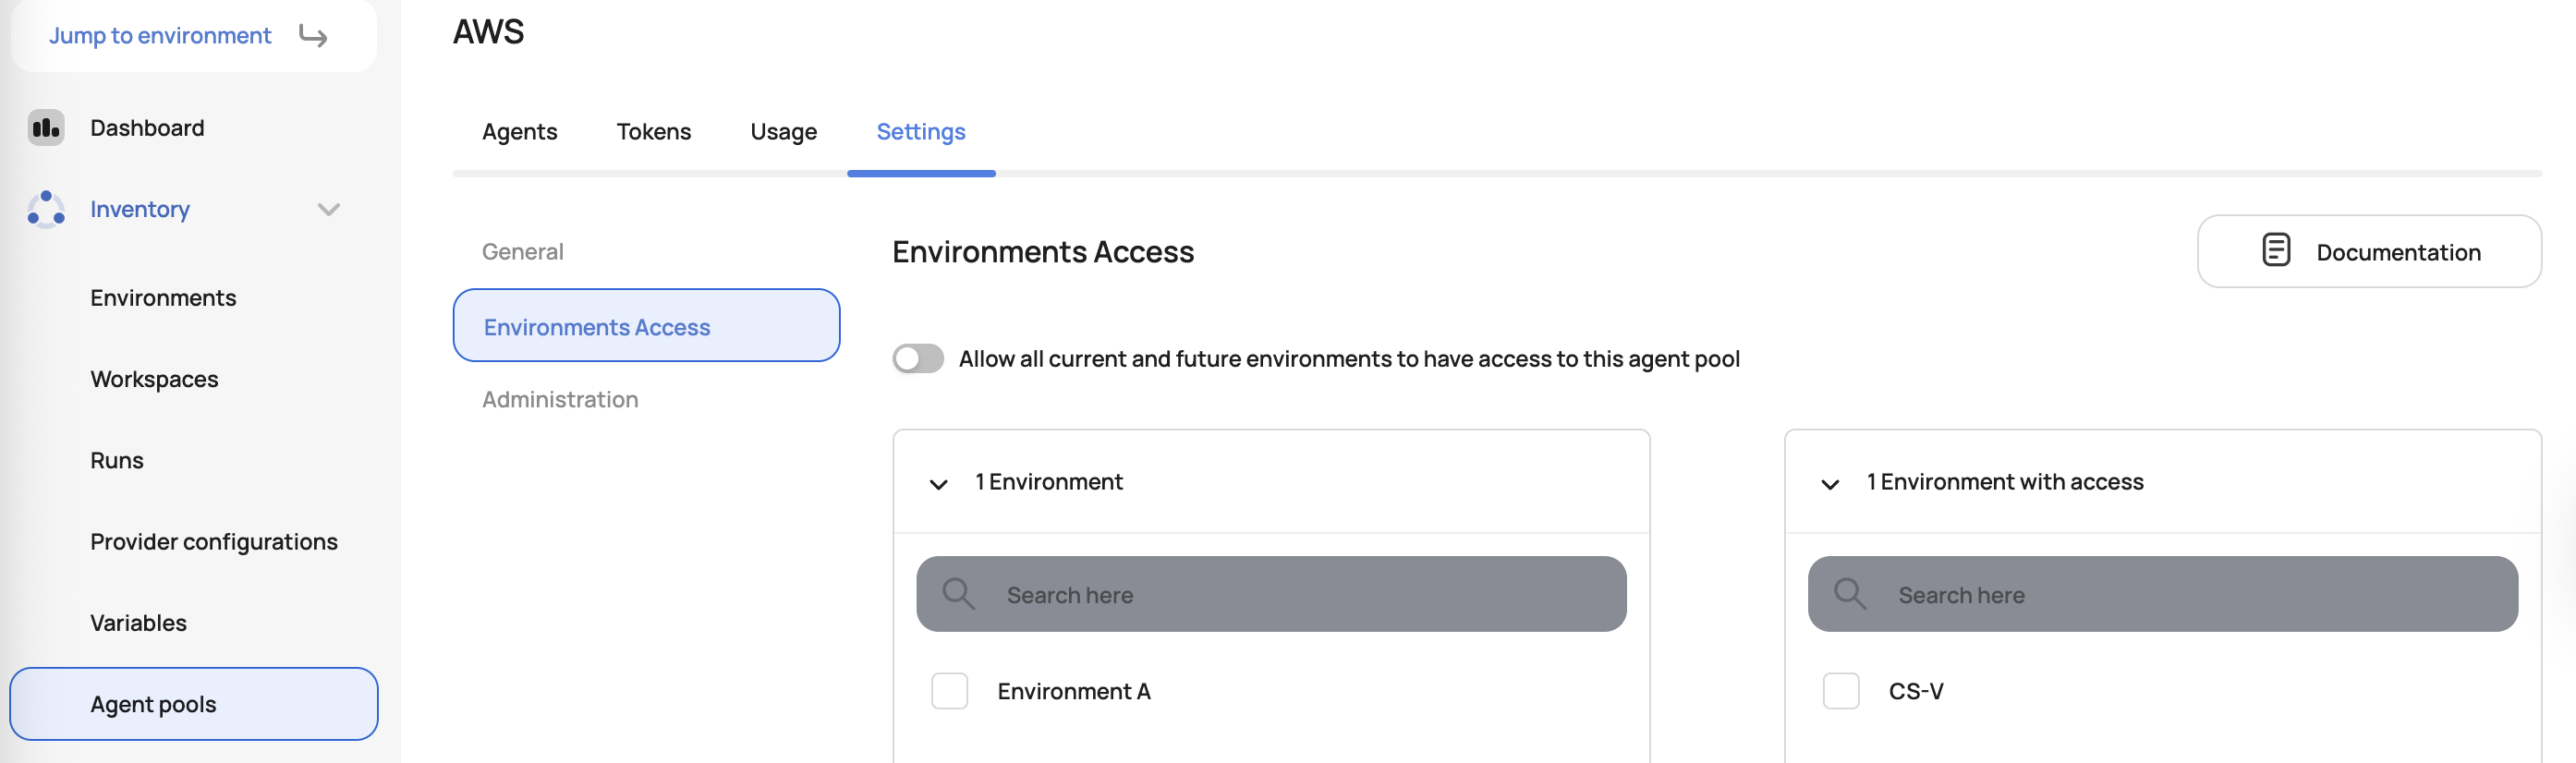
To assign an agent pool to one or more environments, add the environments in the environment access settings:
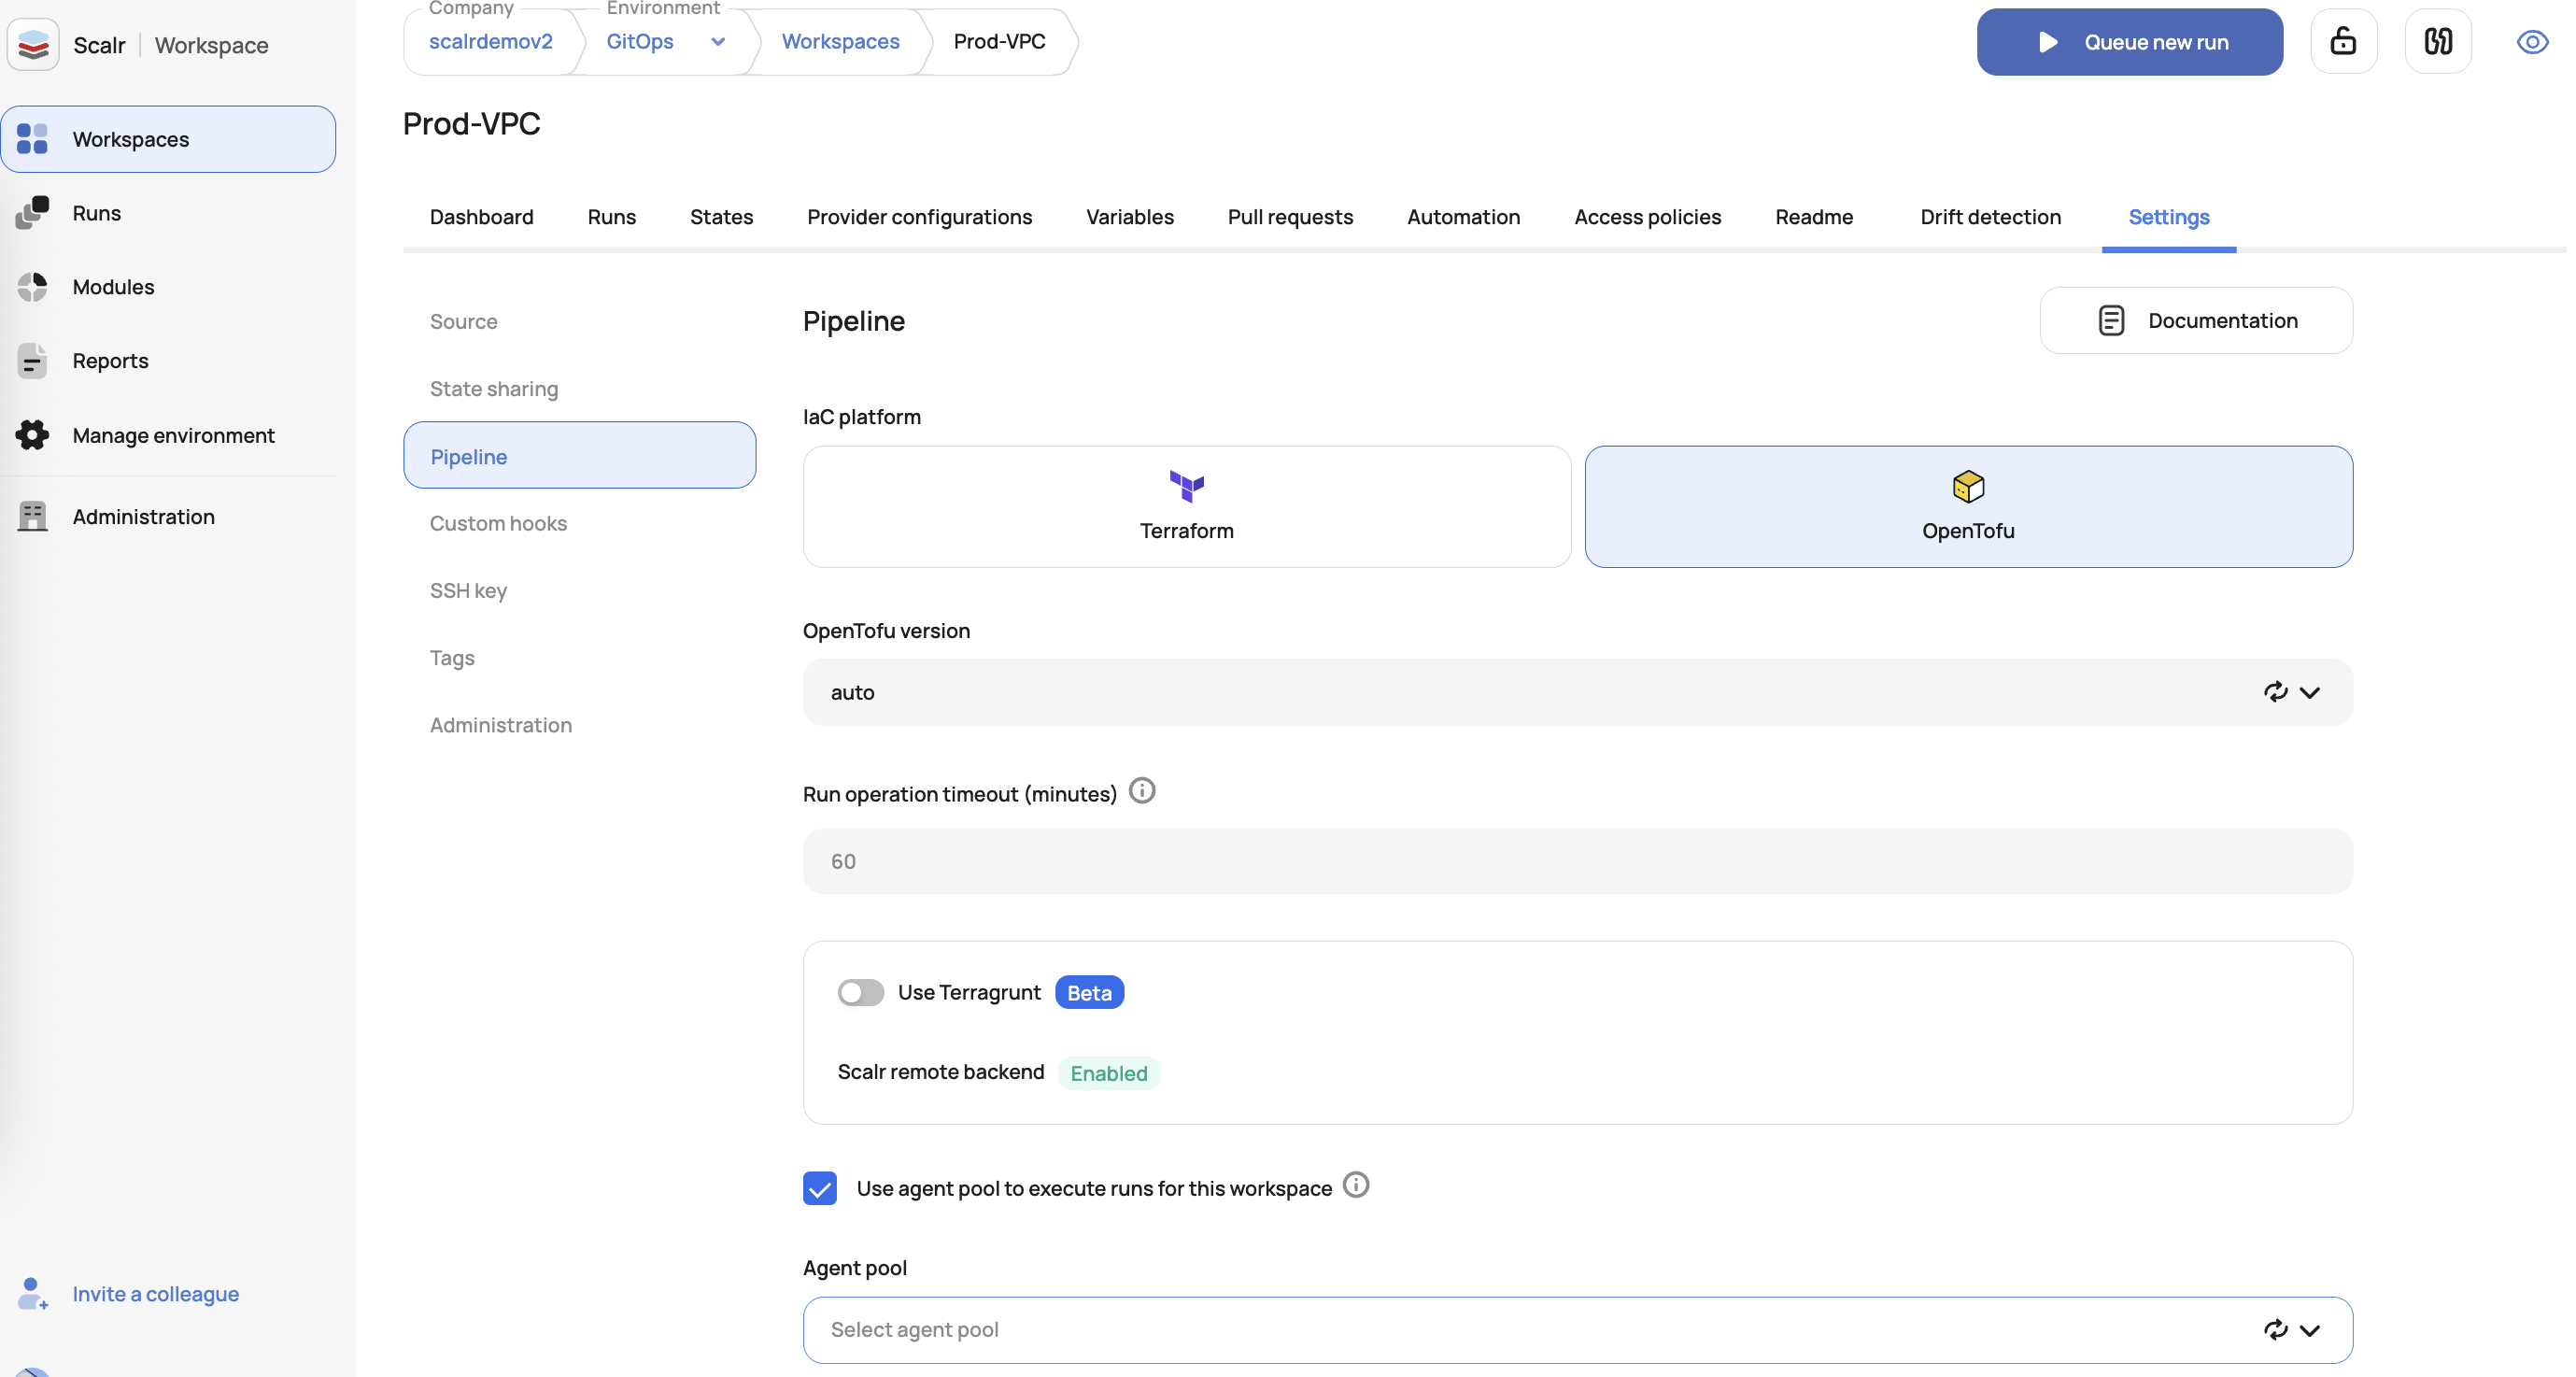
Agent pools can also be selected in the workspace and override the default setting:
Forcing All Workspaces to use an Agent Pool
If all workspaces in an account should use an agent pool, the enforcement for this can be done with Scalr security rules at the admin scope:
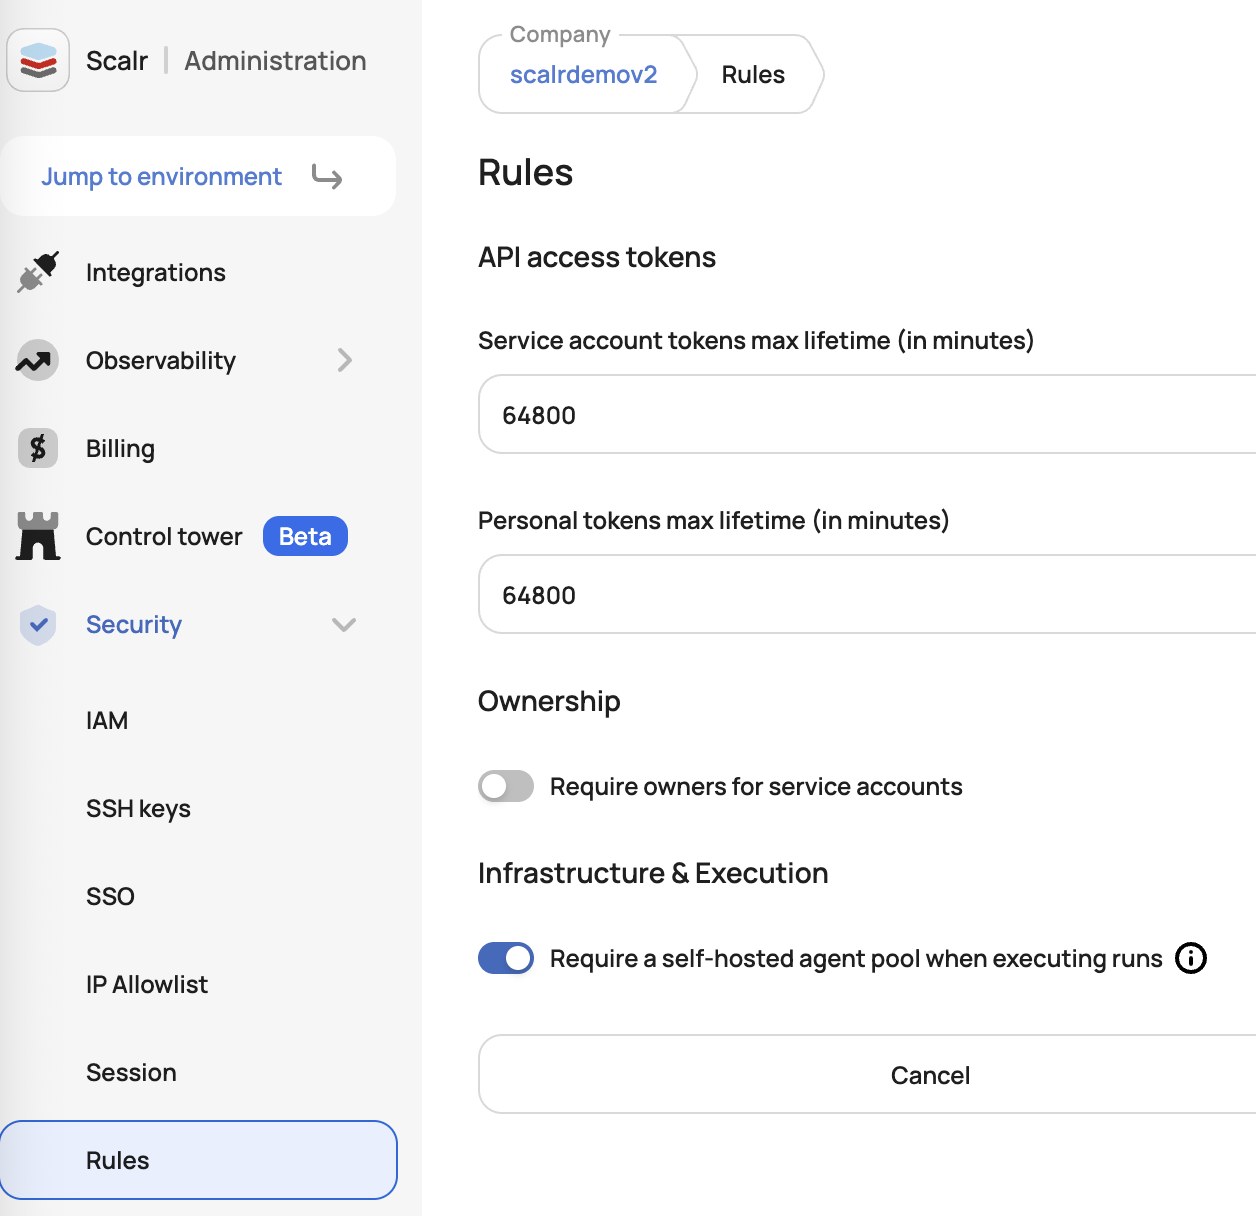
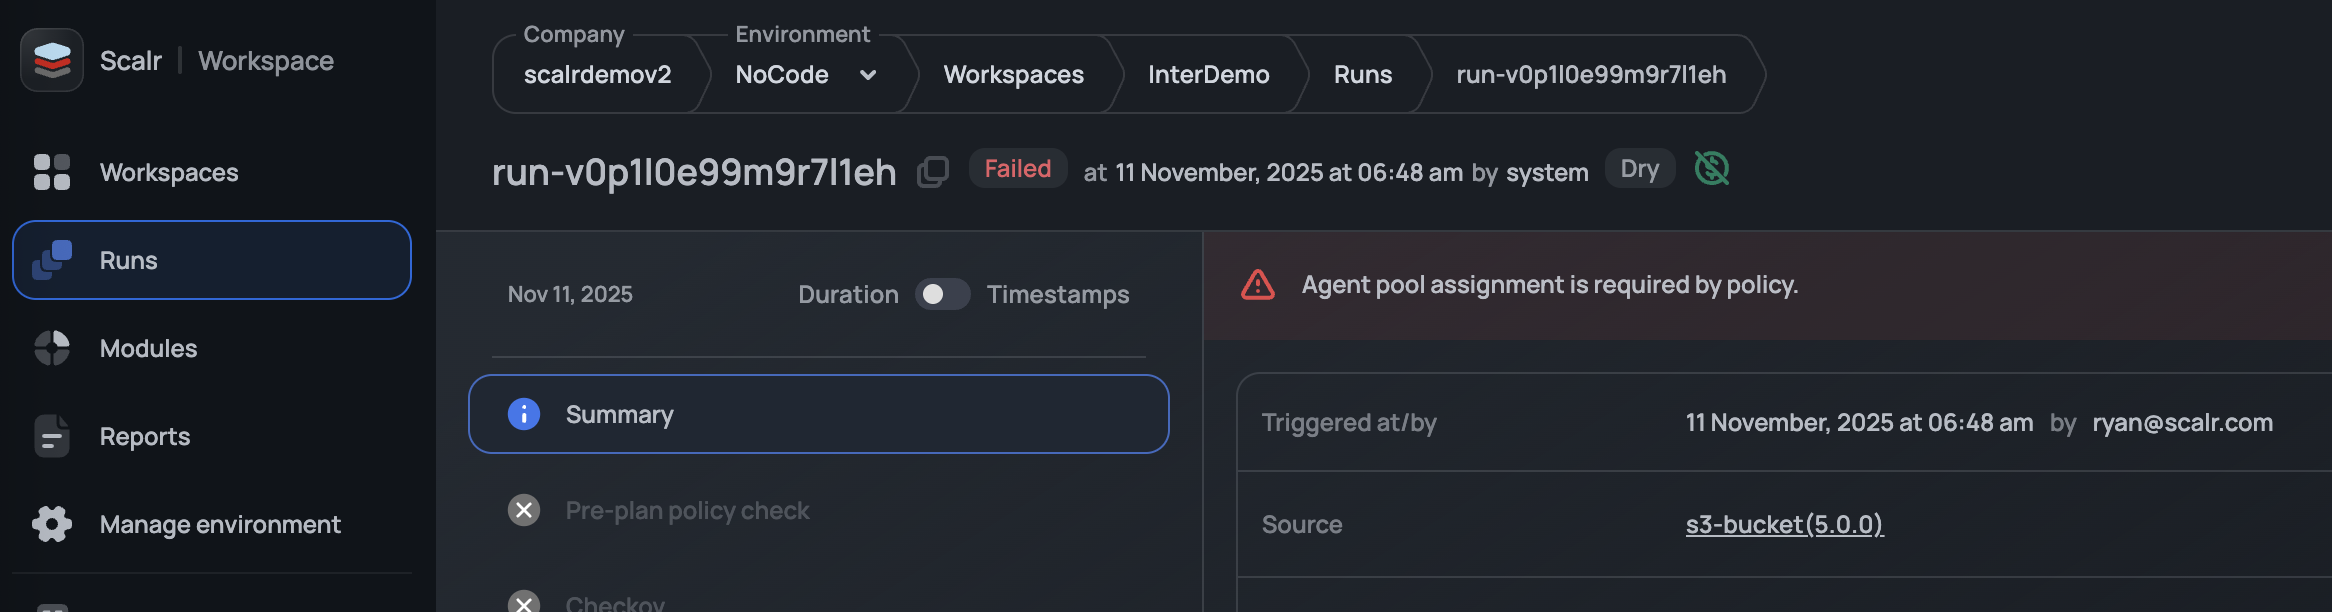
Once enforced, all current and future workspaces must have an agent pool assigned to them to be able to execute a run:
Assigning VCS Agent Pool to Providers
Note: This is included in the enterprise plan. Contact support if you have any questions.
VCS agent pools are linked differently; they are associated with the VCS provider integration, rather than the workspace. To configure it, go to the Integrations page, choose your self-hosted Enterprise provider, and select a VCS agent pool from the Select agent pool for this VCS connection list.
Delete Agents from an Agent Pool
You cannot delete an active agent from the pool immediately. Only agents with the Offline status can be deleted.
An agent becomes Offline after 5 minutes of inactivity. Offline agents are automatically removed from the pool after 4 hours.
Delete an Agent Pool
Before deleting an agent pool, unlink all workspaces from it. Once unlinked, the pool can be safely deleted.
All agent pool tokens will be revoked upon deletion, and any running agents in the pool will be disconnected and stopped.
Updated 3 months ago